Prerequisites
Before you can configure and use Codex with Connect AI, you must first do the following:- Connect a data source to your Connect AI account. See Sources for more information.
- Install Node.js 18 or later.
- Have a ChatGPT plan that includes Codex (Plus, Pro, Business, Edu, or Enterprise), or an OpenAI API key.
- (Basic authentication only) Generate a Personal Access Token (PAT) on the Settings page. Copy this down, as it acts as your password during authentication.
Connect to Connect AI
OAuth Authentication
Start Codex and sign in:The first time you run Codex, select Sign in with ChatGPT and complete the authentication in your browser. To use an API key instead, set the
OPENAI_API_KEY environment variable.Register the Connect AI MCP server. Open your Codex configuration file at
~/.codex/config.toml and add the following:Authenticate to the Connect AI MCP server:Complete the OAuth flow in your browser. Signing in with ChatGPT authenticates you to Codex, but you must run this command separately to authenticate to the Connect AI MCP server. Once you have authenticated, the message
Successfully logged in to MCP server 'connectai' appears.Basic Authentication
Start Codex and sign in:The first time you run Codex, select Sign in with ChatGPT and complete the authentication in your browser. To use an API key instead, set the
OPENAI_API_KEY environment variable.Register the Connect AI MCP server. Open your Codex configuration file at Replace
~/.codex/config.toml and add the following:<Your_Base64Encoded_EMAIL:PAT> with the Base64-encoded value of your Connect AI email and PAT, in the format email:PAT.Start a Codex Session
Start a Codex session and explore your data with natural language prompts. Codex uses the Connect AI MCP server to query your live data.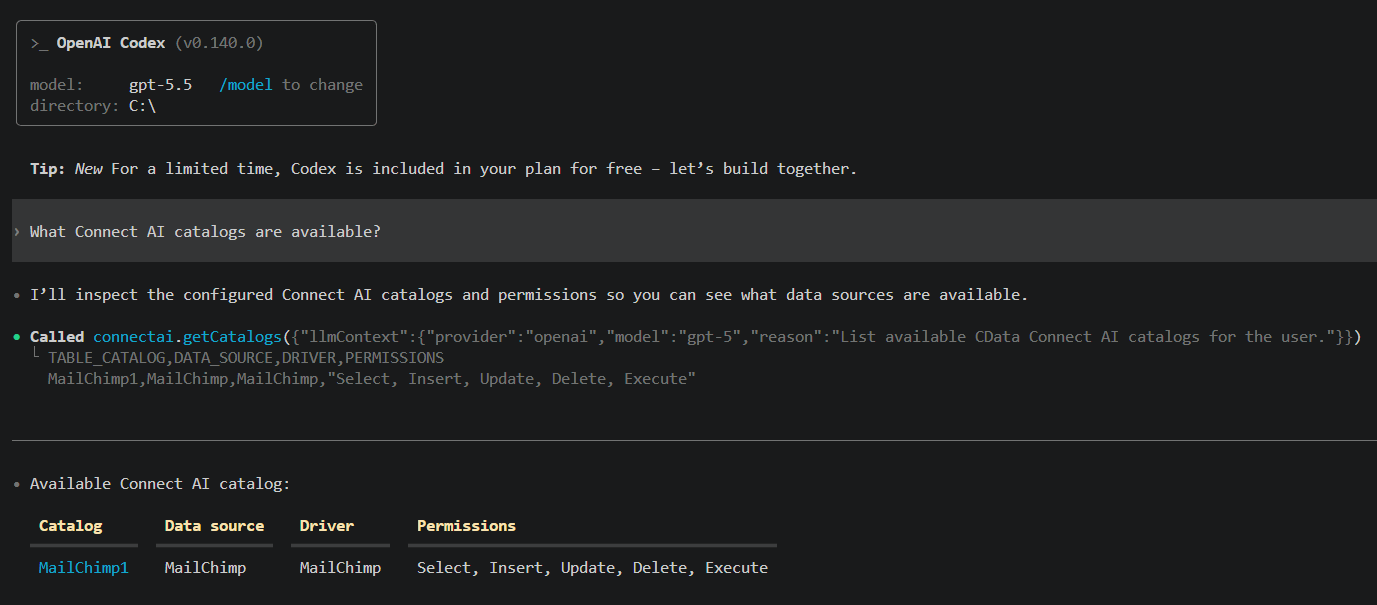
If Codex reports that MCP startup is incomplete, the server did not initialize within Codex’s default 10-second startup window. Increase
startup_timeout_sec in the server configuration (for example, to 30 or higher), then start Codex again. First-time connections and OAuth flows often need the extra time.Codex’s MCP support and setup process are subject to change. Refer to OpenAI’s Codex MCP documentation for the latest setup information.