Prerequisites
Before you can configure and use ChatGPT with Connect AI, you must first do the following:- Connect a data source to your Connect AI account. See Sources for more information.
- Have a ChatGPT Plus or Pro subscription.
Connect to Connect AI
Follow these steps to add a Connect AI connector in ChatGPT:Sign in to ChatGPT with a Plus or Pro subscription.
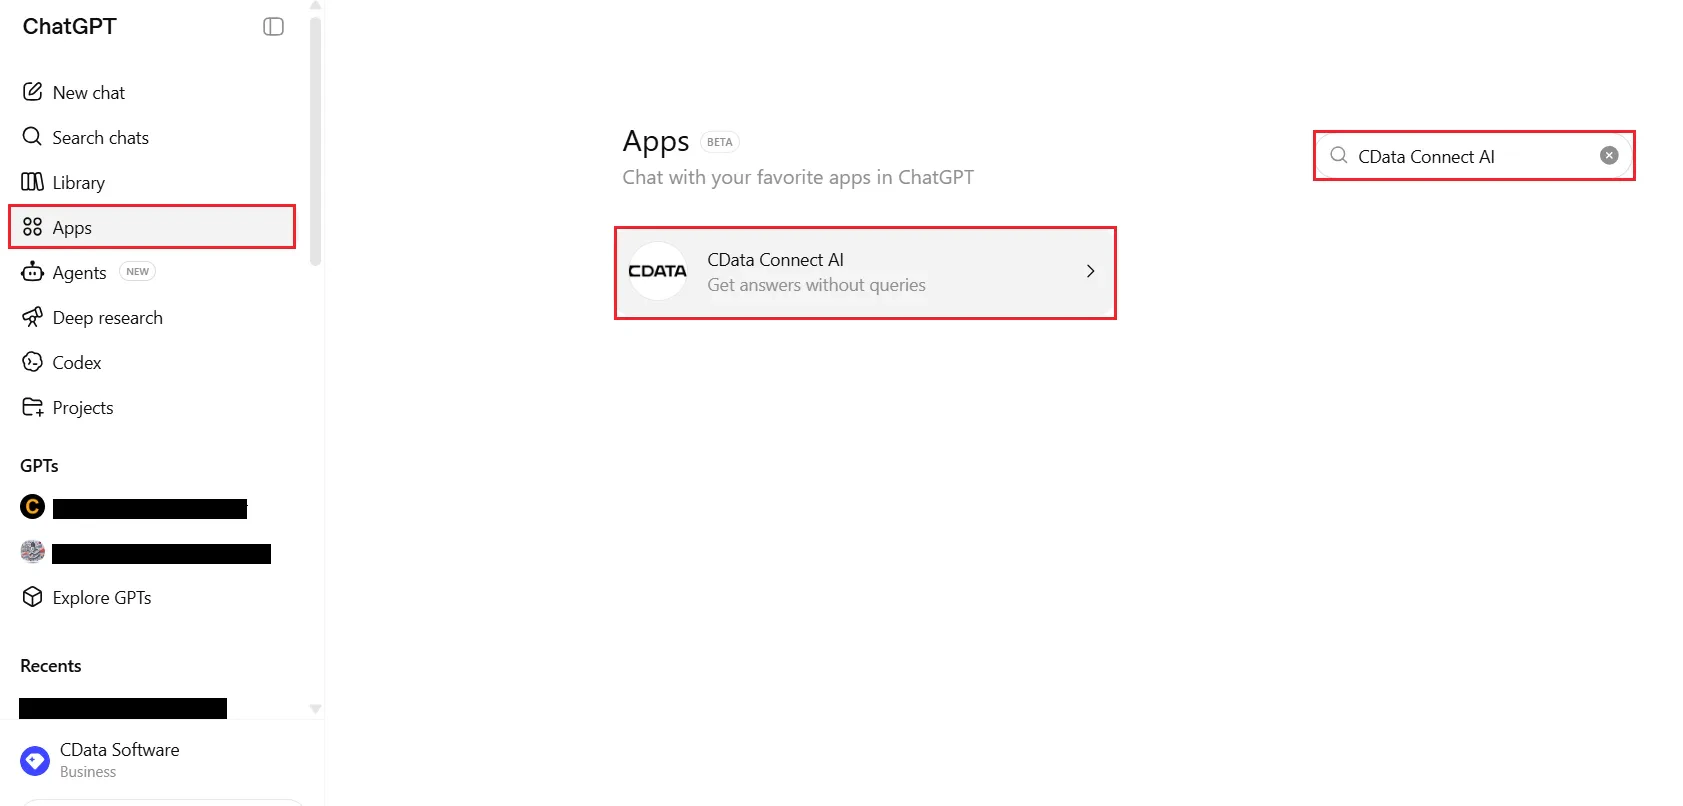
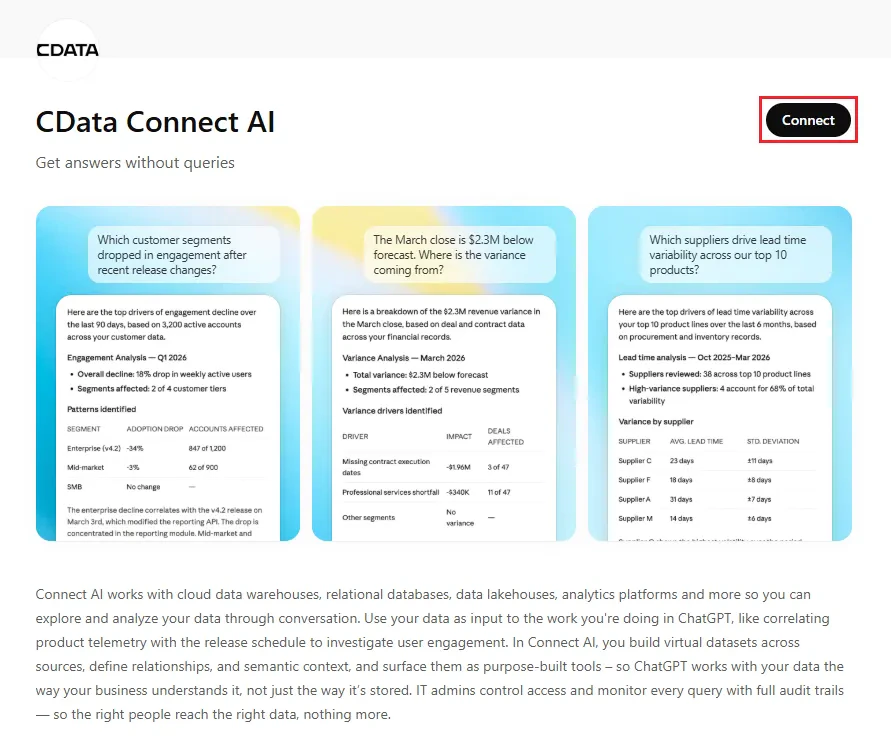
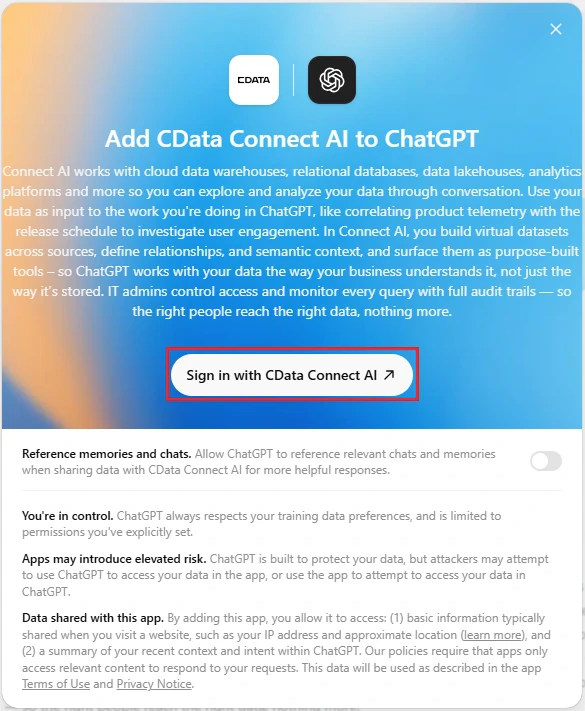
CData Connect AI should be automatically enabled in the chat. If not, click +, select More, and then select CData Connect AI from the drop-down list.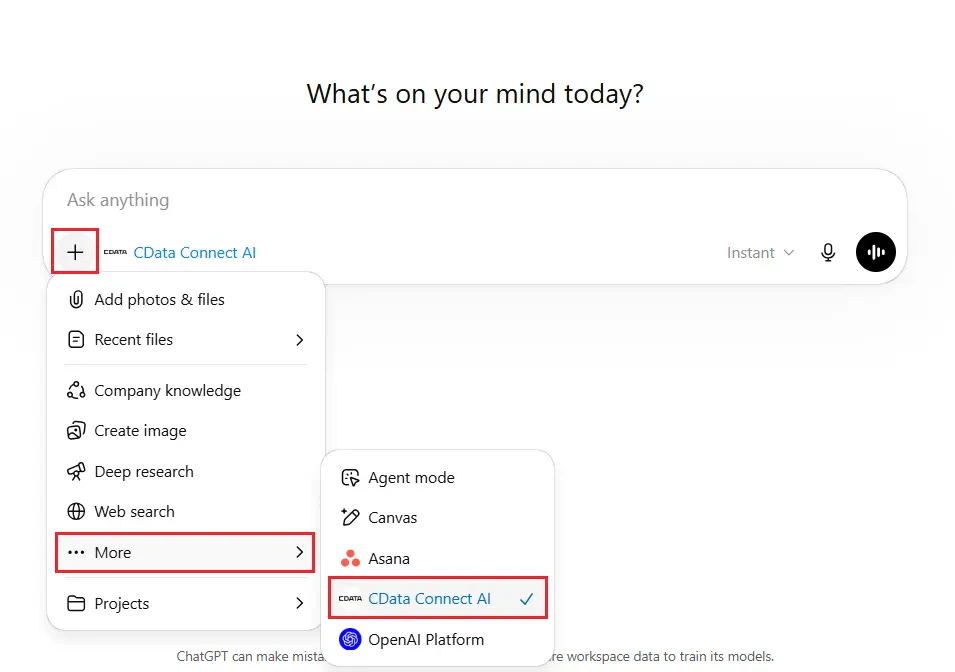
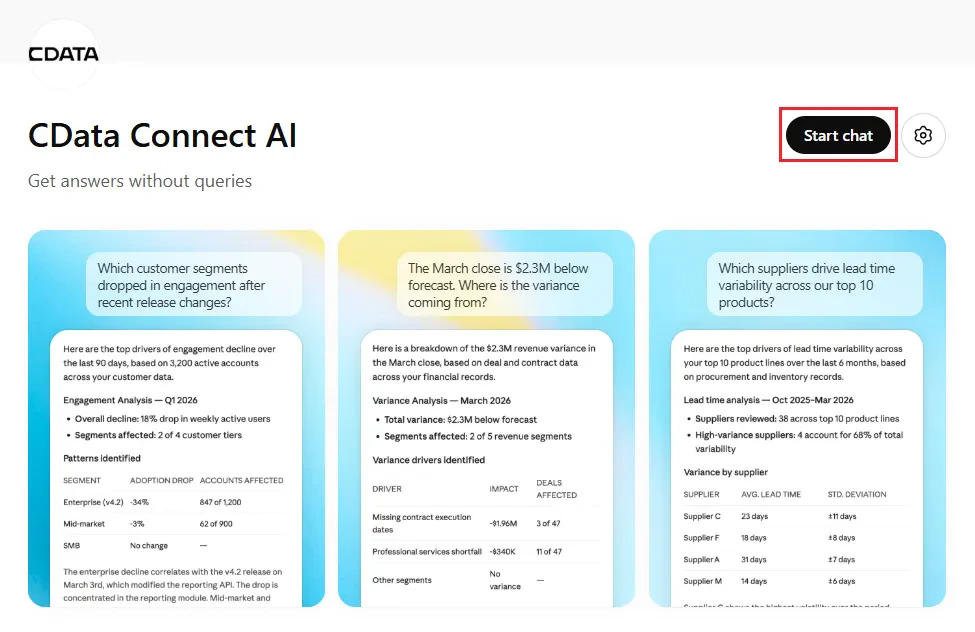
You can now start exploring your data with natural language prompts. ChatGPT uses the Connect AI MCP server to query your live data and may ask your permission before accessing it.Refer to CData’s prompt library for prompt ideas.
ChatGPT’s Apps feature is currently in beta and its setup process is subject to change. Refer to ChatGPT’s documentation for the latest setup information.