Prerequisites
- SSO must be configured on your Connect AI account.
- SCIM Groups must be enabled on your account. Contact CData Support to enable SSO and SCIM groups.
- Microsoft Entra ID license requirement (Entra ID only): Automated SCIM provisioning requires Microsoft Entra ID Premium P1 or P2 (included with Microsoft 365 E3/E5). Organizations on the Entra ID free tier cannot configure automated provisioning.
- Microsoft Entra ID
- Okta Workforce Identity Cloud
- Custom IdP (configured via SAML or OpenID Connect)
- PingFederate
- Google Workspace
- Active Directory Federation Services (ADFS)
- Active Directory/LDAP
Configure SCIM Group Provisioning in Your Identity Provider
The steps below walk through the full SCIM groups configuration for Microsoft Entra ID and Okta Workforce Identity Cloud.- Entra ID
- Okta
Connect AI does not appear in the Entra application gallery. You must create a new application from the gallery.
1
From the Microsoft Entra admin center, navigate to Enterprise apps > + New application. Click Create your own application, enter a name for the application (for example, Connect AI SCIM), select Integrate any other application you don’t find in the gallery (Non-gallery), and click Create.
2
In the navigation menu, under Manage, select Properties. Set Assignment required to Yes and click Save.
3
In the navigation menu, under Manage, select Users and groups. Assign the users and groups you want to provision to Connect AI. When you assign a group, the users from that group are provisioned automatically.
4
In the navigation menu, under Manage, select Provisioning and click Get started.
5
Set Provisioning Mode to Automatic.
6
Under Manage, select Connectivity and configure the following parameters:
- Tenant URL—enter the SCIM endpoint URL provided by CData Support and append
?aadOptscim062020to the end of the URL. This is Microsoft’s recommended workaround for a known SCIM 2.0 issue. - Secret Token—enter the Bearer token provided by CData Support.
7
Under Manage, select Provisioning, expand Mappings, and confirm that Provision Entra ID Groups is set to Enabled.
8
Under Manage, select Attribute Mapping, then select the Users tab. In the row containing
mail and emails[type eq "work"].value, click the Edit icon and configure the following:- Set Match objects using this attribute to Yes.
- Set Matching precedence to 2.
If users in your organization do not have the
mail attribute populated in Entra ID, edit the same row and change Source attribute to userPrincipalName to ensure the email field is always populated during provisioning.9
On the main Enterprise application page, select Provision on demand. Search for and select a user or group you assigned, then click Provision. Verify that the user or group appears in Connect AI.
10
Under Provisioning, set Provisioning Status to On to begin provisioning all assigned users and groups. After groups appear in Connect AI, assign roles to the group. See Access Role Assignments.
SCIM Groups User Provisioning and Deprovisioning
When a user is added to a synced group in your IdP, Connect AI automatically provisions them. There is no need for the user to verify via email. The new user inherits the access roles assigned to that group. See Access Role Assignments for details on assigning access roles to groups. The new user is also assigned to the system role Query user. You change the system role later by editing the user in the Users tab.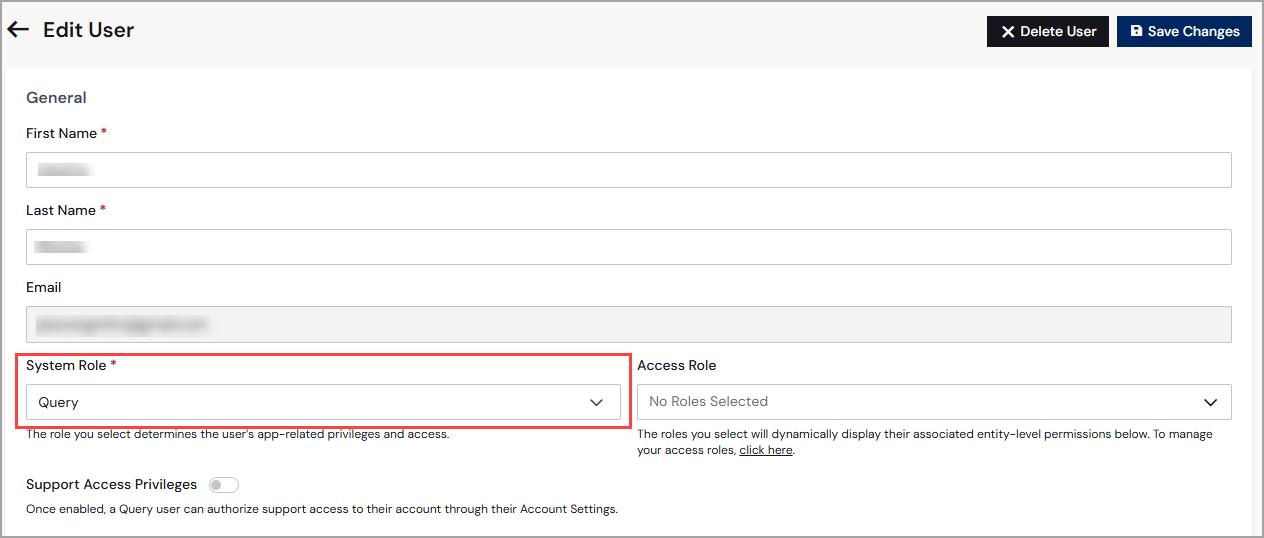
DELETE /users/{id} from the Management API to revoke PATs and any direct role and permission grants. The user record is retained but the user can no longer sign in.
Access Role Assignments
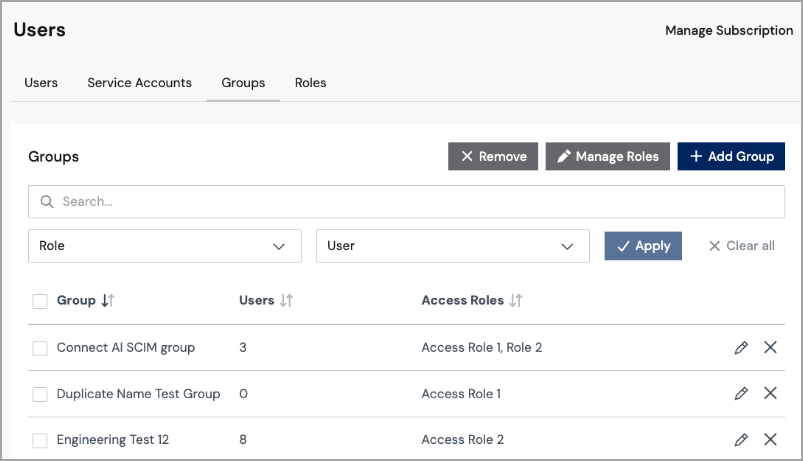
After groups are synced, you assign Connect AI access roles to groups in the Groups tab of the Users page: