

In Connect AI, privileges are administrative actions, while permissions are data and execution
access.
- Administrator has full access to all Connect AI functions, including adding and managing users.
- Connection Administrator can create, edit, and delete connections and workspaces. They can also assign connection and workspace permissions, view users, query all connections, and view connection-related audit log events.
- User Administrator can create, invite, edit, and disable users, assign and revoke the User Administrator and Query roles, and view user-related audit events.
-
Query users can authenticate to a connection with their own credentials, as long as the user and connection meet the following criteria:
- An Administrator or Connection Administrator grants the user permission to use the connection.
- An Administrator selects Per-User Authentication, rather than Shared Authentication, for the connection.
By default, all CData Connect Spreadsheets users have an Administrator role. They have full
Select, Insert, Update, Delete, and Execute permissions.
- A system role (Administrator, Connection Administrator, User Administrator, or Query) defines what a user can do across the platform (managing connections, users, and running queries), and every user has exactly one.
- An access role is an optional, admin-defined set of data and workspace permissions assigned on top of the system role; access roles are additive, so a user can hold several.
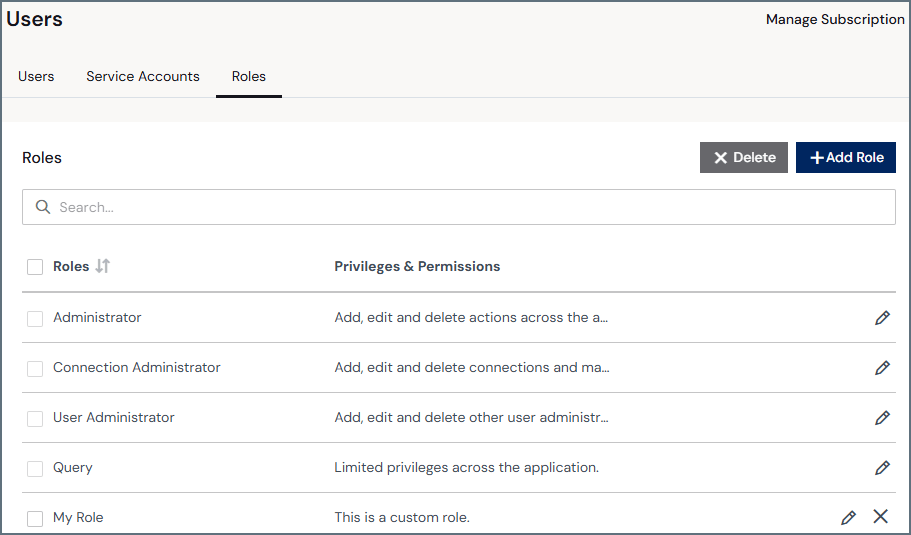
- A row for every role in your account:
- Role is the role name.
- Privileges & Permissions is a short overview of the scope of the role.
- Edit and delete icons for the role. System roles cannot be deleted.
Add an Access Role
1
In the Roles tab of the Users page, click Add Role to open the Add Role page.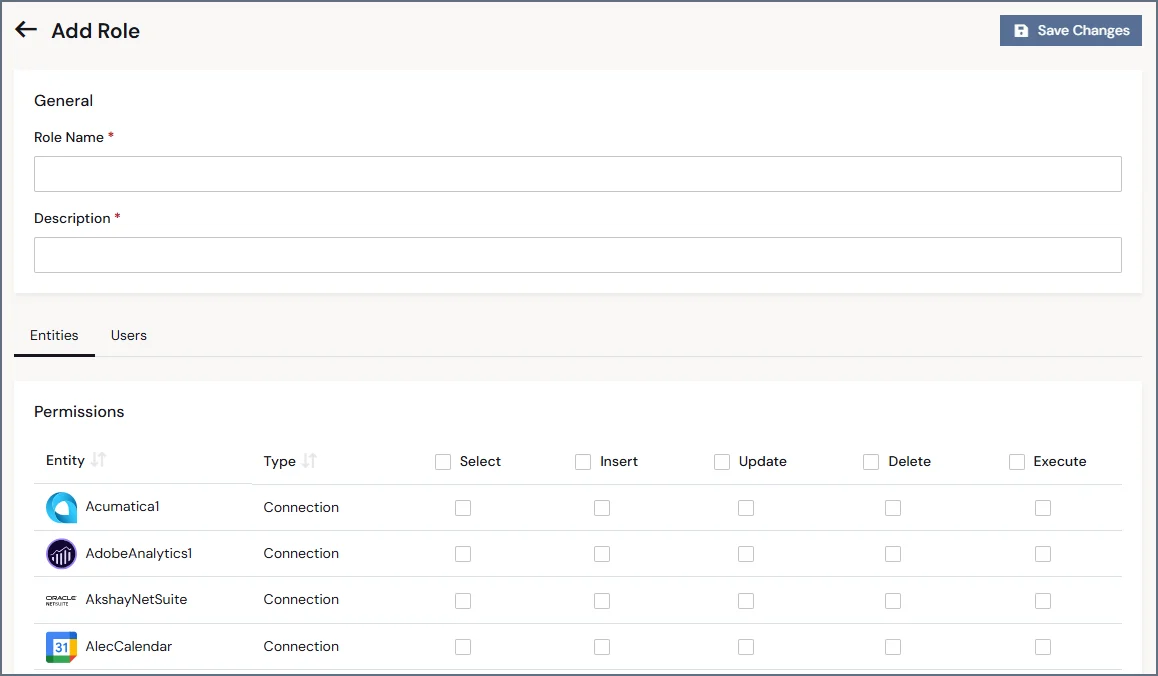
2
Enter the Role Name.
3
Enter a short description of the role that will appear on the Roles list.
4
In the Entities tab, select the appropriate permissions for entities (data connections and
workspaces) in your Connect AI instance. For more information about permissions, see
Permissions and Access Control.
5
In the Users tab, click Assign Users to assign multiple users to the same access role.
You can also add permissions to a user on an individual basis. These permissions are added to
the role-based permissions.
6
Select one or more users to assign to the role, and click Confirm.
7
Click Save Changes to save the role.
Edit a Role
You can modify any role or delete an access role at any time by clicking the edit or delete icons in the Roles list.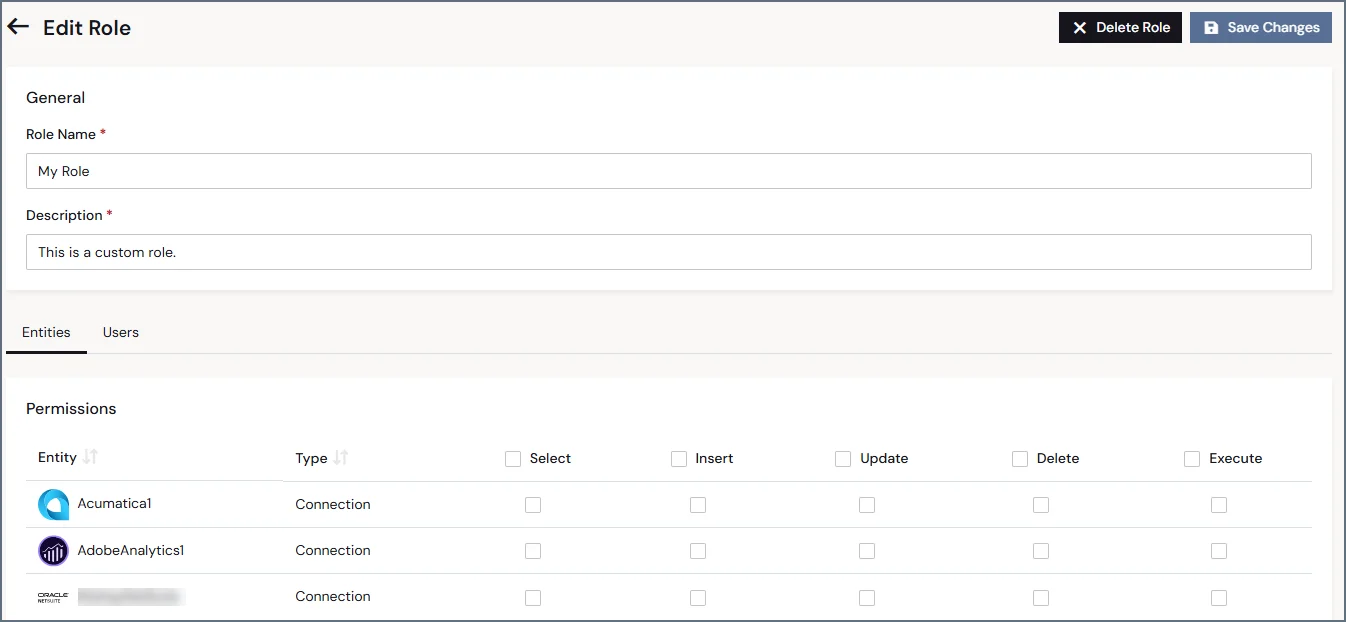
- Edit the Role Name and Description fields (access roles only).
- Edit the permissions for the role.
- Assign or delete the users assigned to the role.
- Delete the entire role (access roles only).