前提条件
接続する前にまず以下を実行します。- データソースをConnect AI アカウントに接続します。詳しくは、Sources を参照してください。
- ワークスペースを作成します。後の手順で、(
https://cloud.cdata.com/api/odata/{workspace_name}) ページのOData Service URL と関連するワークスペース名を使用してコネクションを確立します。 Settings ページでPersonal Access Token (PAT) を生成します。PAT をコピーし、認証時にパスワードとして使用します。
Connect AI への接続
OData プロトコルを使用してJitterbit からConnect AI へのコネクションを確立するには、以下の手順に従います。1
Log in to Jitterbit.
2
Create a project in Cloud Studio and provide a workspace environment for it.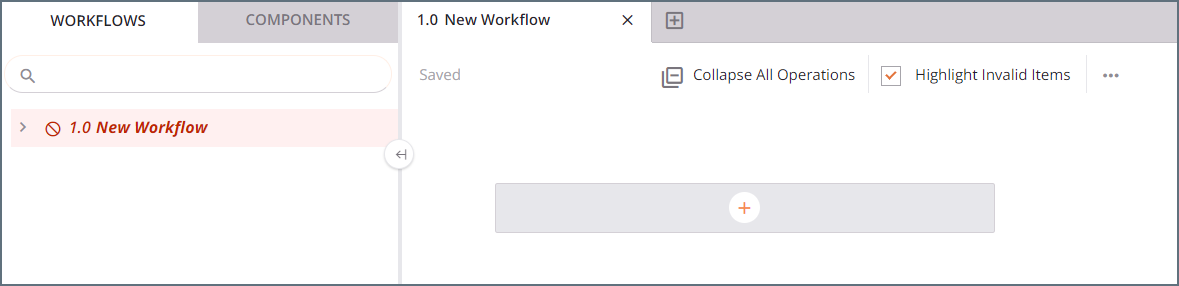
3
Click Connections and enter OData in the search bar.
4
Select the OData connector.
5
Enter the OData connection properties.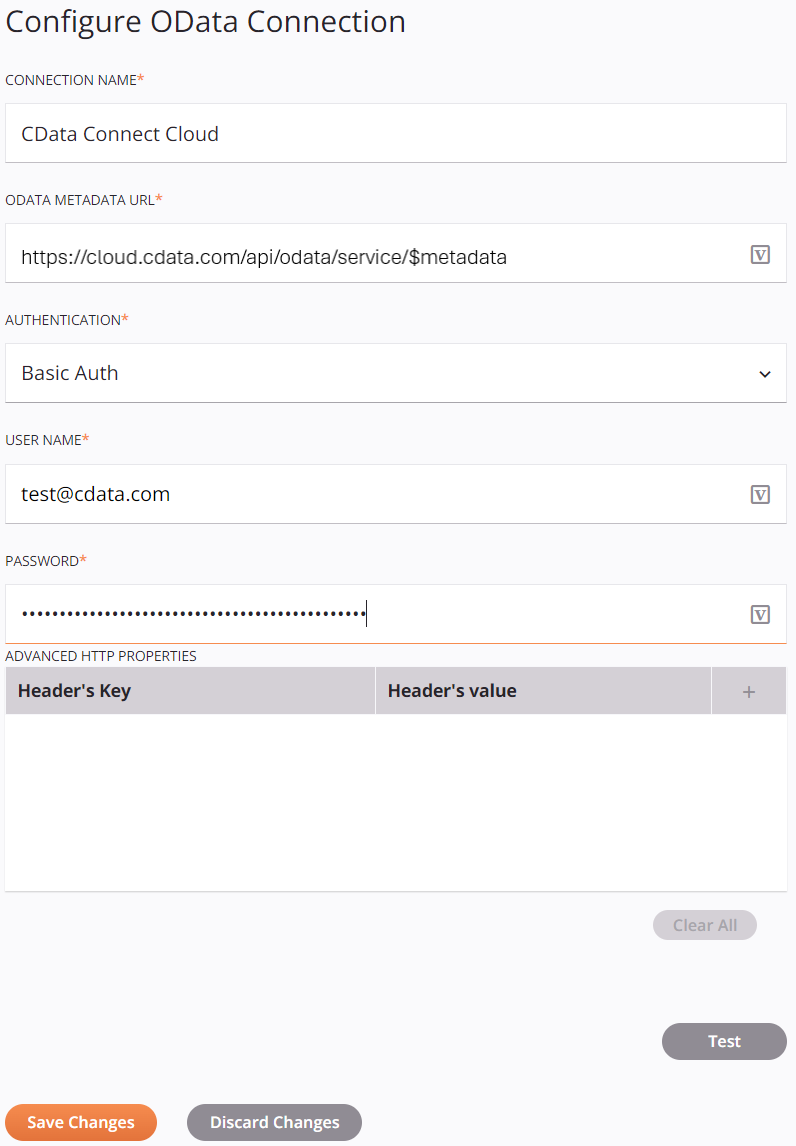
- Connection Name—enter a connection name.
- OData Metadata URL—enter the metadata URL:
https://cloud.cdata.com/api/odata/{workspace_name}/$metadata. - Authentication—select Basic Auth.
- User Name—Connect AI のユーザー名を入力します。ユーザー名は、Connect AI の画面の右上に表示されています。例:
[email protected] - Password—Settings ページで生成したPAT を入力します。
6
Click Test to test the connection, and then click Save Changes.
7
Choose the operation you want to perform and drag it to the workflow in your project.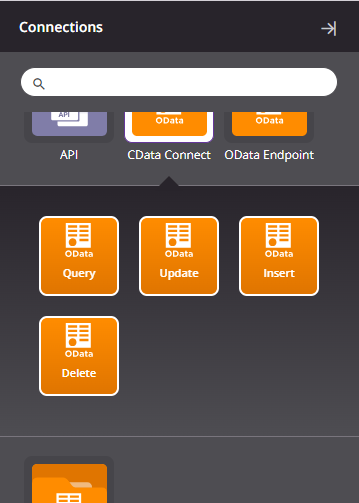
8
Double-click the query operation to see all the tables and derived views available in your OData endpoint.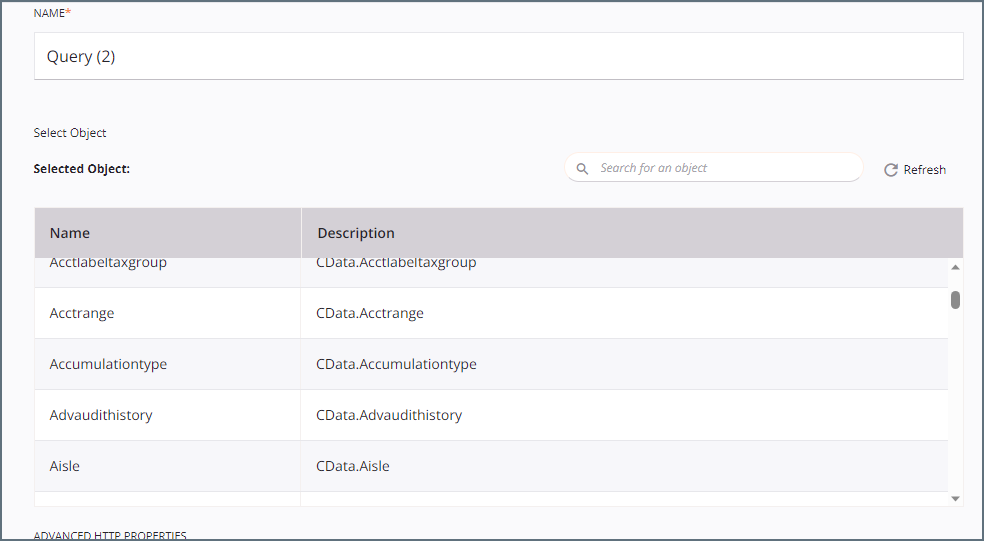
9
Select a table and configure the query.You can now transform and integrate your data.