Prerequisites
- Custom MCP tools are available to Growth+ and Connect AI Embed customers only.
- Only Admin users can create and configure custom tools.
- You must have created one or more workspaces. See Workspaces for more information on creating workspaces.
Custom Tool Types
You can add the following custom tool types to a workspace:- MCP System Tools–these are tools that apply to every asset in the workspace. These are data exploration and manipulation operations built into Connect AI. They expose operations such as
getCatalogsandexecuteProcedure. System tools can only be enabled or disabled globally for a workspace, not individually. - Workspace Assets–these are tools that perform an action specific to your source data. You can configure actions such as get, search, and create for each workspace asset in order to optimize your query. For example, if your workspace includes the Jira
Issuestable, you can add tools to search for and create issues. - Custom SQL–you can create custom SQL tools for repeatable queries and operations. You can add optional or required parameters that are input to the SQL query.
Custom Tools Tab
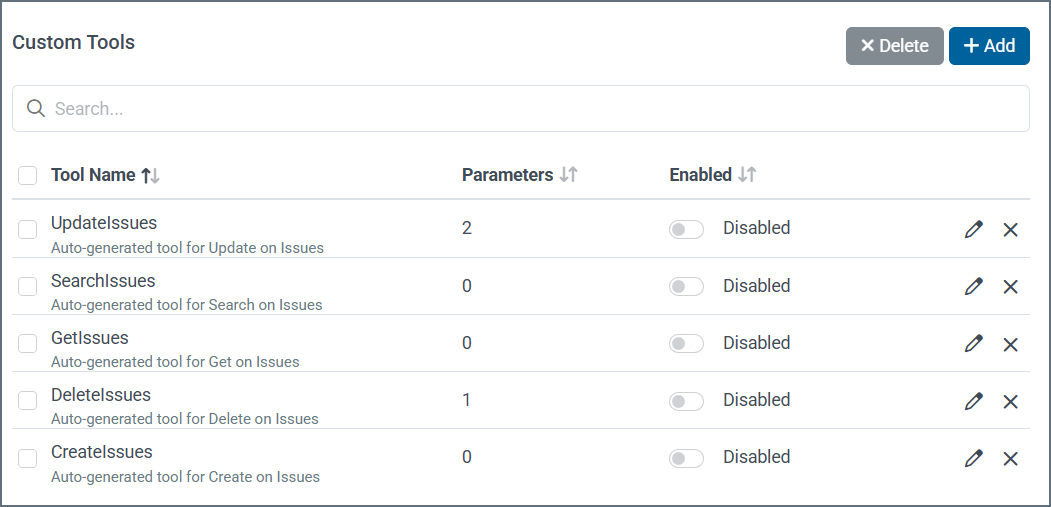
The Custom Tools tab contains a list of the custom and system tools in the workspace.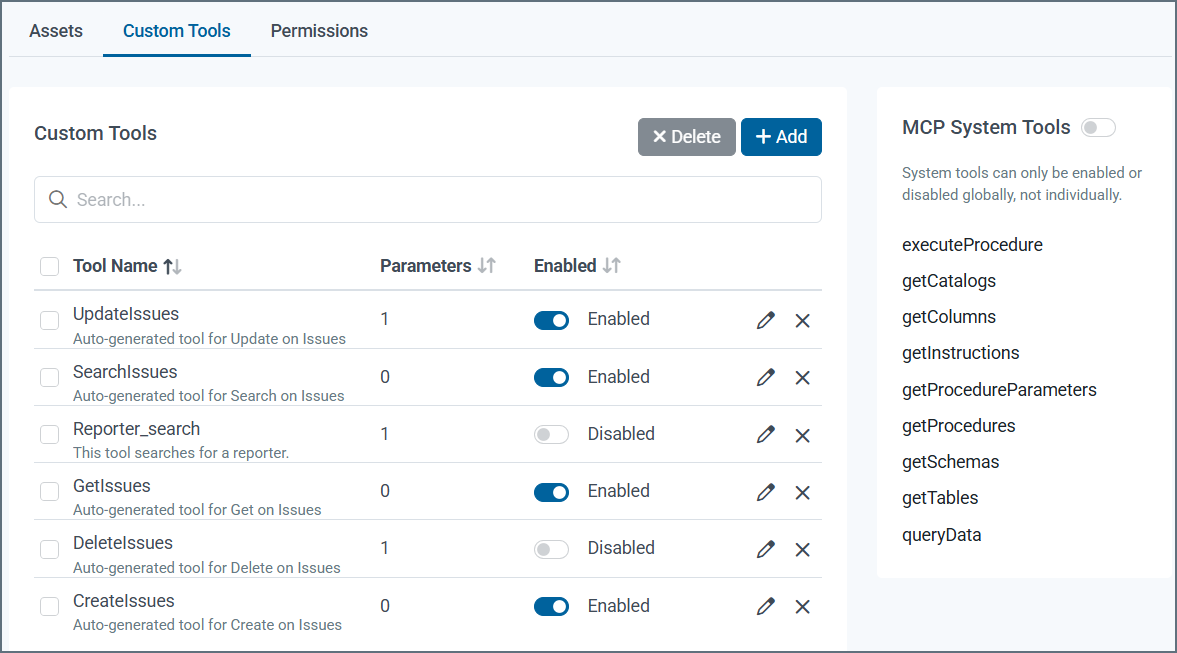
- Tool Name—the user-defined tool name and its AI instructions.
- Parameters—the number of parameters (required or optional) for the tool.
- Enabled—the toggle switch to enable or disable the custom tool.
- Edit (🖉)—edit the custom tool, including its name, instructions, or parameters.
- Delete (🗙)—delete the selected tool. You can delete several custom tools at once by selecting the tools to delete and clicking the Delete button next to Custom Tools.
Add a Workspace Asset to a Workspace
To add a workspace asset: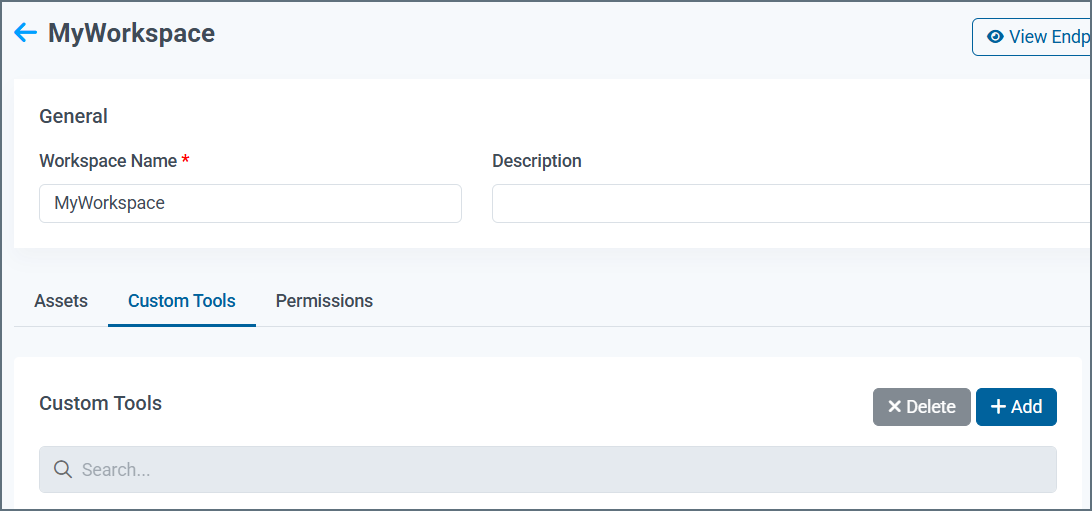
In Step 2, configure one or more actions to optimize your query. Select Actions to select every action. You can update these actions later.
You can expand on the default AI instructions for the tool by setting boundaries and defining the intent of the tool. Here are some guidelines for writing effective AI instructions for a custom tool:
- Be clear and specific about the tool’s purpose. Define what the tool does and what inputs it accepts.
- Set clear boundaries. Explicitly state what the tool should and should not do.
- Test your instructions against a wide variety of inputs.
Optionally, add parameters and/or edit the default parameters. By default, the parameters are required, but in certain cases you can select Optional to make a parameter optional.
Add a Custom SQL Tool to a Workspace
To add a custom SQL tool:In the custom SQL editor, you can edit the tool name and add AI instructions. You can set boundaries for the type of data that can be returned.
Create a SQL statement. The documentation contains a complete SQL Reference for guidance.
Optionally, add parameters to the SQL statement. If you add parameters to the SQL statement, you must add the parameter name in the Parameters section of the tool’s definition.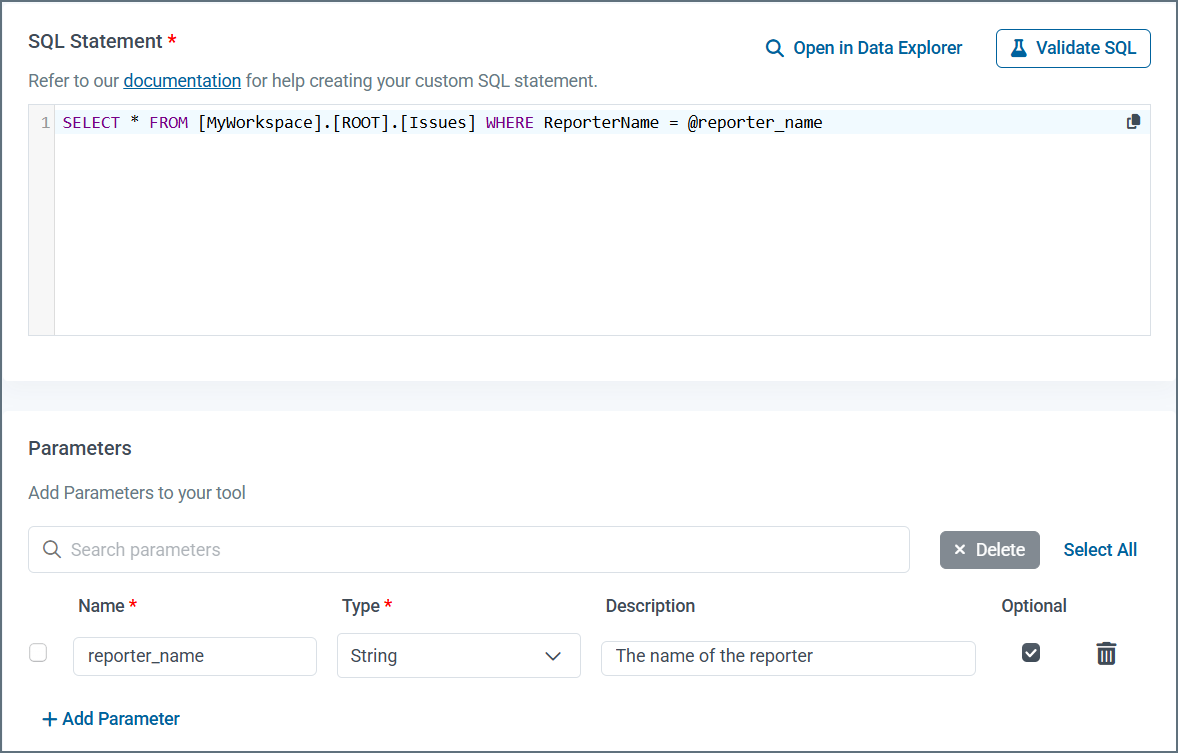
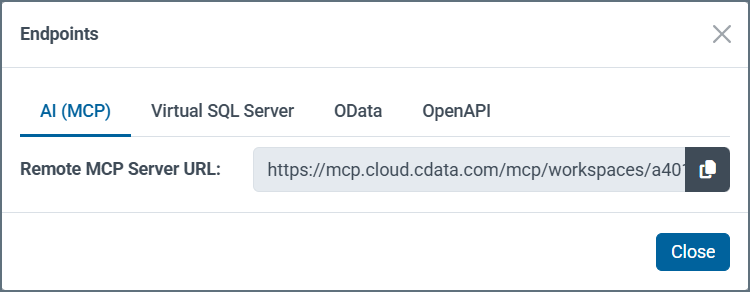
Add the Endpoint to Your Agent
Connect AI provides an endpoint to the custom tools in your workspace. In your workspace, click View Endpoints: