About Users
A user is an account that can log in and administer Connect AI Embed, such as viewing and managing accounts. Two types of Connect AI Embed users are available:- Administrators have full access to all Connect AI Embed functions, including adding, deleting, and managing users and accounts.
- Viewers have read-only privileges across Connect AI Embed.
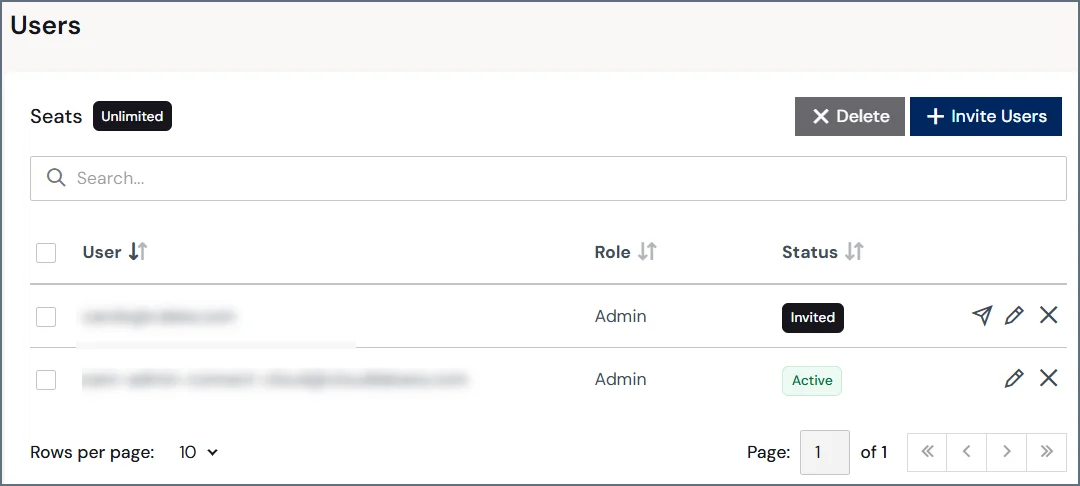
Users List
The Users list displays the following information:- A button to invite users.
- A row for every user on your Connect AI Embed account:
- User displays the email address that is associated with the user.
- Role indicates the user’s role (Administrator or Viewer).
- Status shows the state of the user’s account (Active, Inactive, or Invited).
- Buttons to edit and delete the user. If the user’s status is Invited, there is also a button to resend their invitation.
Invite Users
To add users to your Connect AI Embed account, follow these steps:1
Click Invite Users to open the user invitation dialog.
2
Enter the email address of the user that you want to invite. To send multiple invitations at the same time, add a space between each email address.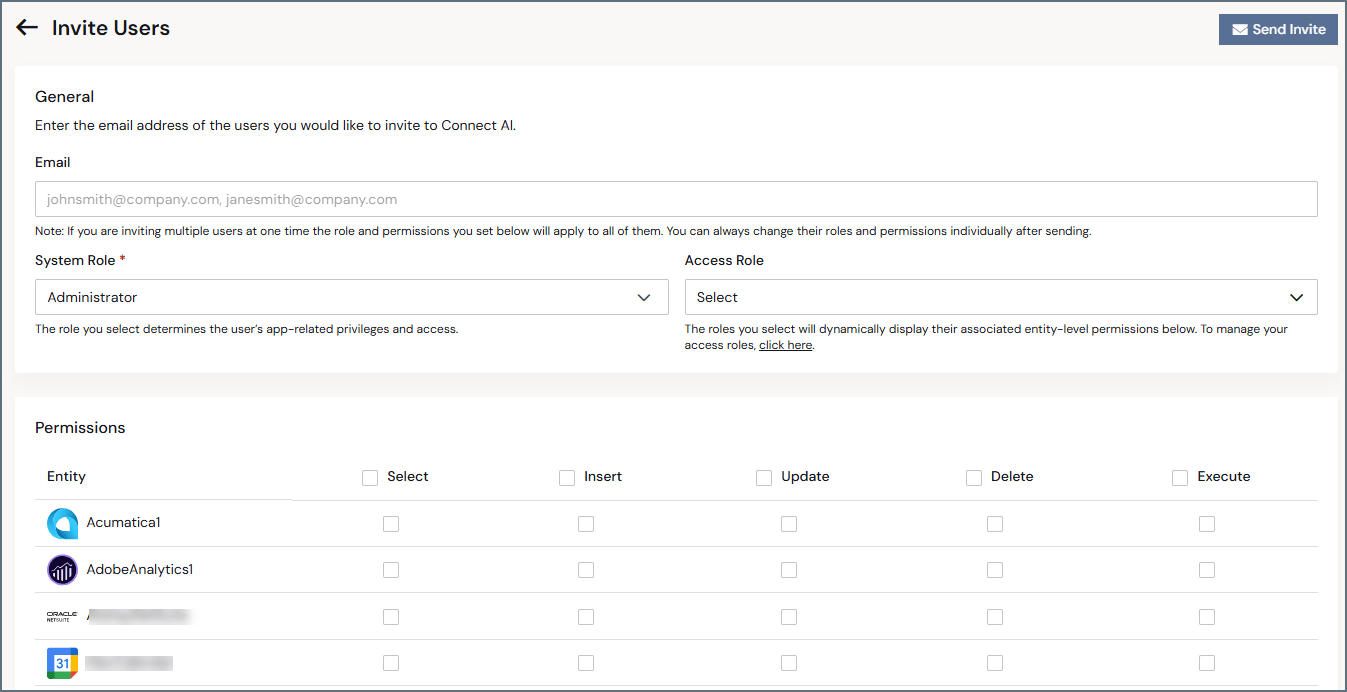
3
Click Send Invite. If a user is registered already to an email address that you enter, the dialog prompts you to enter a different email address.
Accepting an Invitation
Follow these steps to set up access after receiving an invitation email:1
Click Accept Invite in the invitation email to open the password creation page.
2
Create a password that meets the provided criteria. After you create a password, the login page appears.
3
Log in with your email address and your new password. After you log in, the sign-up page appears.
4
Enter your first name and the contact last name.
5
Enter the account name and the invite code from the invitation email. Then, click Complete Sign Up.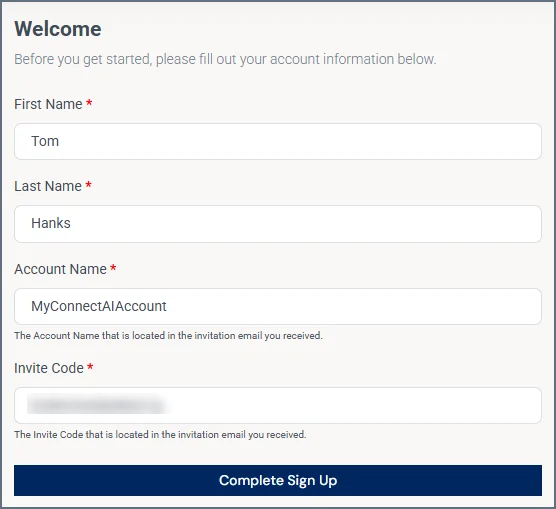
Connect AI Embed supports Single Sign-On (SSO) through popular SSO providers. If SSO is enabled on your account, the invitation flow uses your SSO provider instead of the manual password process.
Managing Invitations
If a user has a pending invitation that they have not accepted, their status displays as Invited. Click the resend button to send another invitation email, or click the delete button to delete the user.Edit User
Click a user in the list to open the Edit User page.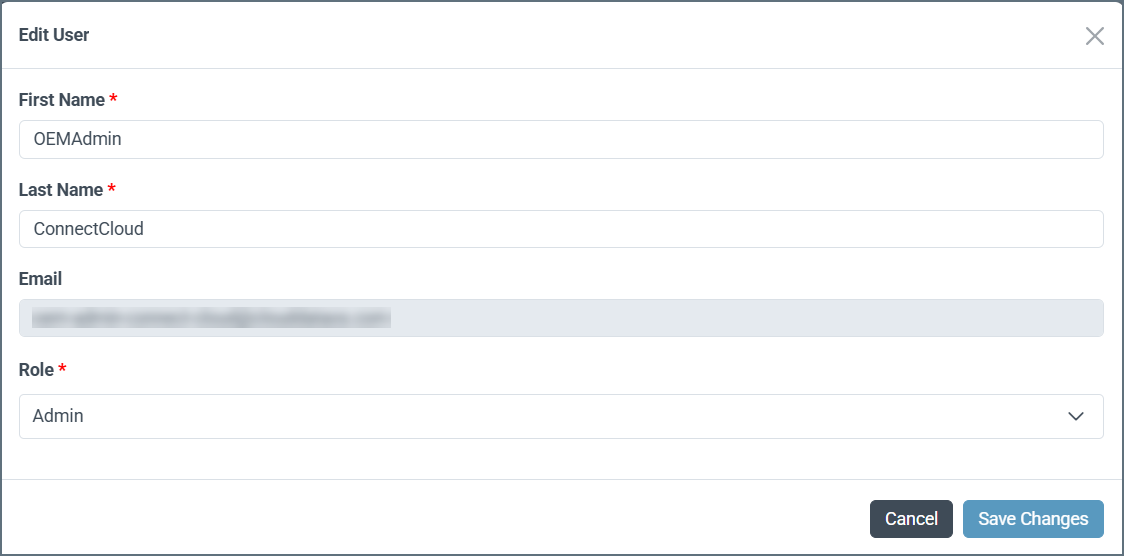
- Editable First Name and Last Name fields.
- A non-editable Email field.
- A drop-down menu to select the user’s Role (Administrator or Viewer).
If the user is the last remaining Administrator on your account, they cannot be deleted.