> ## Documentation Index
> Fetch the complete documentation index at: https://docs.cloud.cdata.com/llms.txt
> Use this file to discover all available pages before exploring further.
# Metabase
## Prerequisites
Before you connect Metabase to Connect AI, you must perform the following prerequisites.
In Connect AI:
* Connect a data source to your Connect AI account. See [Sources](/ja/Sources) for more information.
* Generate a Personal Access Token (PAT) on the [Settings](/ja/Settings#personal-access-tokens) page. Copy this down, as it acts as your password during authentication.
To use the Open Source version of Metabase with Connect AI, you need to have a Java Runtime Environment installed on your system. Metabase recommends version 11 of JRE. See the [Metabase Documentation](https://www.metabase.com/latest/installation-and-operation/running-the-metabase-jar-file) for details.
## Download and Install the Metabase JAR File
[Download the Metabase OSS JAR file](https://www.metabase.com/start/oss/jar).
Create a new directory and move `metabase.jar` to the new directory.
In the new directory, run the JAR file:
```bash theme={null}
java -jar metabase.jar
```
Metabase logs its progress in the terminal as it starts up. Wait until you see the message `Metabase Initialization Complete` before you start Metabase.
Visit `http://localhost:3000/setup` to start Metabase and complete your setup.
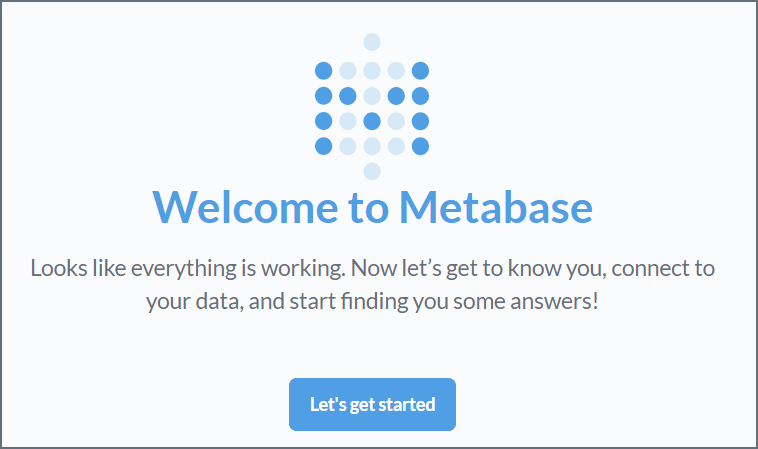 Follow the prompts to set up an admin account.
## Connect to Connect AI
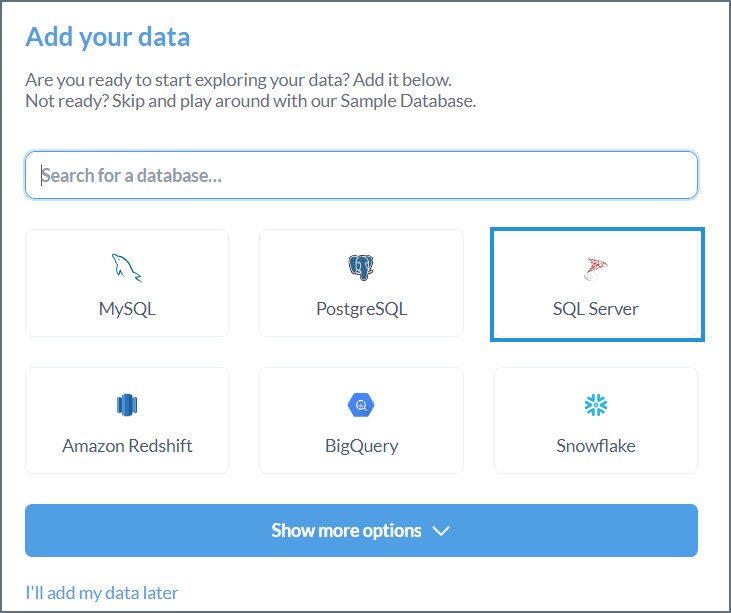
Step 4 of the Metabase setup is adding your data. To connect to Connect AI, do the following:
Click **SQL Server**.
Follow the prompts to set up an admin account.
## Connect to Connect AI
Step 4 of the Metabase setup is adding your data. To connect to Connect AI, do the following:
Click **SQL Server**.
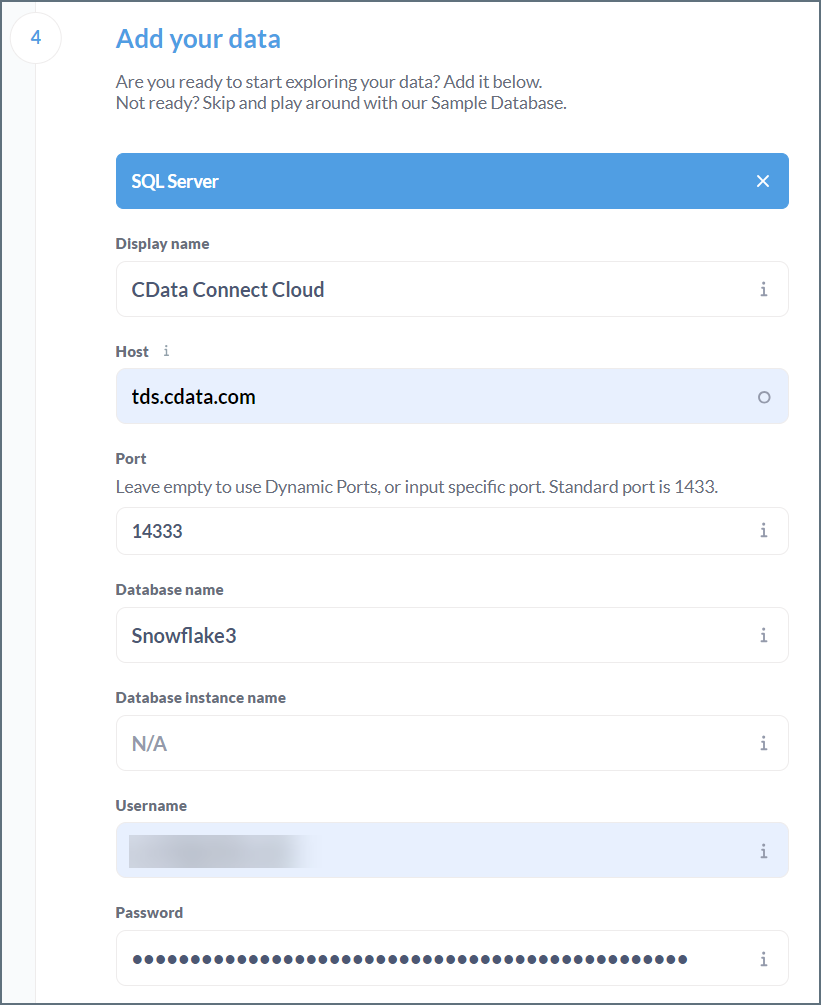
 Enter the following information:
* **Display name**—the name of your data for display purposes.
* **Host**—*tds.cdata.com*
* **Port**—*14333*
* **Database name**—接続したいConnect AI データソースのConnection Name を入力します。例:*Salesforce1*
* **Database Instance name**—N/A
* **Username**—Connect AI のユーザー名を入力します。ユーザー名は、Connect AI の画面の右上に表示されています。例:*[test@cdata.co.jp](mailto:test@cdata.co.jp)*
* **Password**—[Settings](/ja/Settings#personal-access-tokens) ページで生成したPAT を入力します。
Enter the following information:
* **Display name**—the name of your data for display purposes.
* **Host**—*tds.cdata.com*
* **Port**—*14333*
* **Database name**—接続したいConnect AI データソースのConnection Name を入力します。例:*Salesforce1*
* **Database Instance name**—N/A
* **Username**—Connect AI のユーザー名を入力します。ユーザー名は、Connect AI の画面の右上に表示されています。例:*[test@cdata.co.jp](mailto:test@cdata.co.jp)*
* **Password**—[Settings](/ja/Settings#personal-access-tokens) ページで生成したPAT を入力します。
 Leave the rest of the connection settings at their default values unless you need to modify them. You can change the database details later in Metabase Admin.
Click **Next**.
Click **Take me to Metabase**.
## Query Your Data
In the Home screen, click **New** > **SQL Query**.
Leave the rest of the connection settings at their default values unless you need to modify them. You can change the database details later in Metabase Admin.
Click **Next**.
Click **Take me to Metabase**.
## Query Your Data
In the Home screen, click **New** > **SQL Query**.
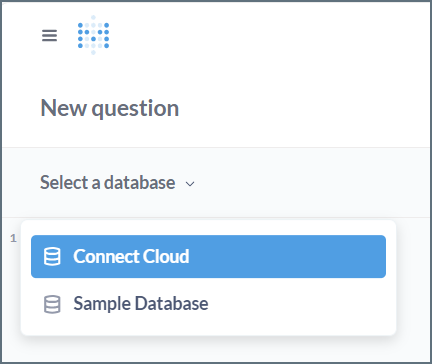
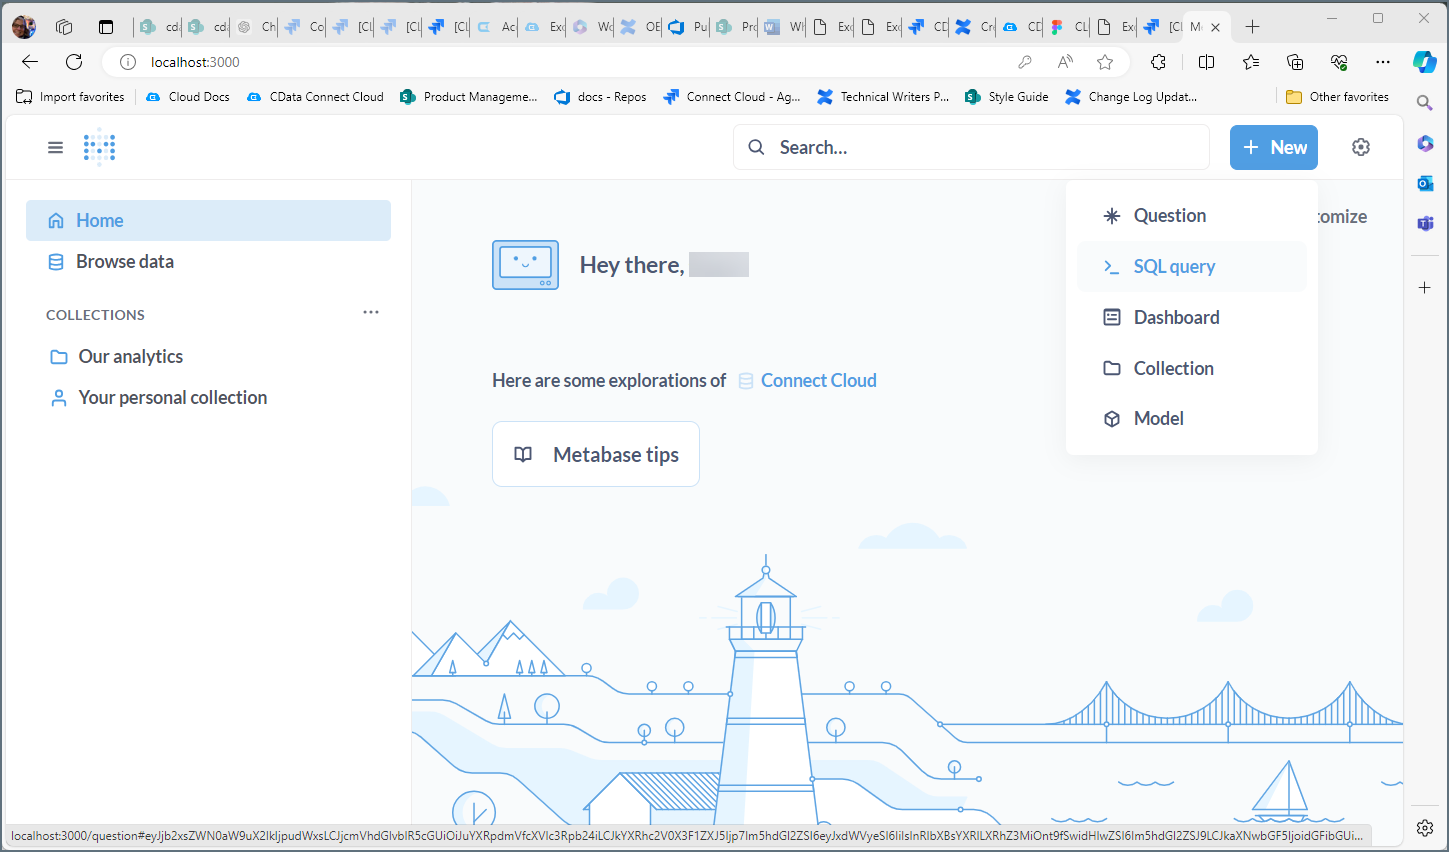 Select the database you just added.
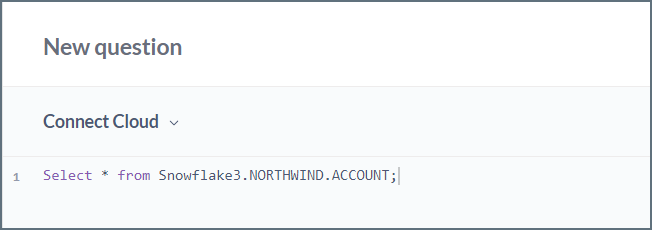
 Create a SQL query for the data.
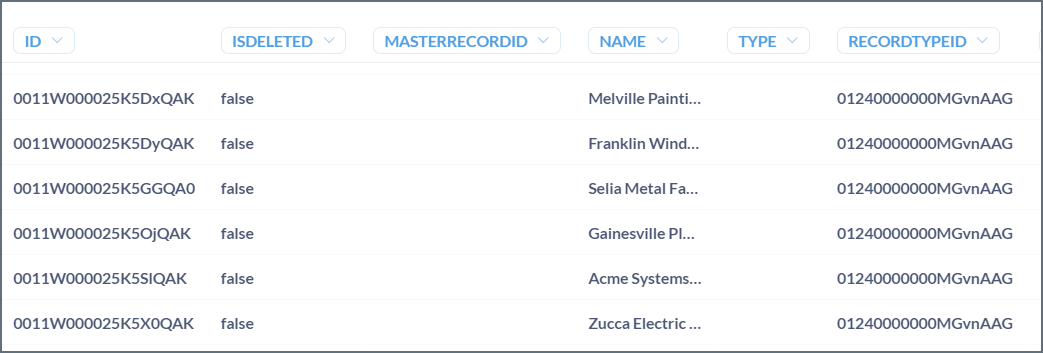
 Click **Run query** to retrieve your data.
 Click **Save** to save your query and add it to your collection.