> ## Documentation Index
> Fetch the complete documentation index at: https://docs.cloud.cdata.com/llms.txt
> Use this file to discover all available pages before exploring further.
# LangChain
> LangChain is a framework for developing applications powered by large language models (LLMs).
## Prerequisites
Before you can configure and use LangChain with Connect AI, you must first do the following:
* Connect a data source to your Connect AI account. See [Sources](/ja/Sources) for more information.
* [Settings](/ja/Settings#personal-access-tokens) ページでPersonal Access Token(PAT)を生成します。PAT をコピーし、認証時にパスワードとして使用します。
* Obtain an OpenAI API key: [https://platform.openai.com/](https://platform.openai.com/).
* Make sure you have Python >= 3.10 in order to install the LangChain and LangGraph packages.
## Create the Python Files
Create a folder for LangChain MCP.
Create two Python files within the folder: `config.py` and `langchain.py`.
In `config.py`, create a class `Config` to define your MCP server authentication and URL. You need to provide your Base64-encoded Connect AI username and PAT (obtained in the prerequisites):
```python theme={null}
class Config:
MCP_BASE_URL = "https://mcp.cloud.cdata.com/mcp" #MCP Server URL
MCP_AUTH = "base64encoded(EMAIL:PAT)" #Base64 encoded Connect AI Email:PAT
```
In `langchain.py`, set up your MCP server and MCP client to call the tools and prompts:
```python expandable theme={null}
"""
Integrates a LangChain ReAct agent with CData Connect AI MCP server.
The script demonstrates fetching, filtering, and using tools with an LLM for agent-based reasoning.
"""
import asyncio
from langchain_mcp_adapters.client import MultiServerMCPClient
from langchain_openai import ChatOpenAI
from langgraph.prebuilt import create_react_agent
from config import Config
async def main():
# Initialize MCP client with one or more server URLs
mcp_client = MultiServerMCPClient(
connections={
"default": { # you can name this anything
"transport": "streamable_http",
"url": Config.MCP_BASE_URL,
"headers": {"Authorization": f"Basic {Config.MCP_AUTH}"},
}
}
)
# Load remote MCP tools exposed by the server
all_mcp_tools = await mcp_client.get_tools()
print("Discovered MCP tools:", [tool.name for tool in all_mcp_tools])
# Create and run the ReAct style agent
llm = ChatOpenAI(
model="gpt-4o",
temperature=0.2,
api_key="YOUR_OPEN_API_KEY" #Use your OpenAPI Key here. This can be found here: https://platform.openai.com/.
)
agent = create_react_agent(llm, all_mcp_tools)
user_prompt = "Tell me how many sales I had in Q1 for the current fiscal year." #Change prompts as per need
print(f"\nUser prompt: {user_prompt}")
# Send a prompt asking the agent to use the MCP tools
response = await agent.ainvoke(
{ "messages": [{ "role": "user", "content": (user_prompt),}]}
)
# Print out the agent's final response
final_msg = response["messages"][-1].content
print("Agent final response:", final_msg)
if __name__ == "__main__":
asyncio.run(main())
```
## Install the LangChain and LangGraph Packages
Run `pip install langchain-mcp-adapters langchain-openai langgraph` in your project terminal.
## Run the Python Script
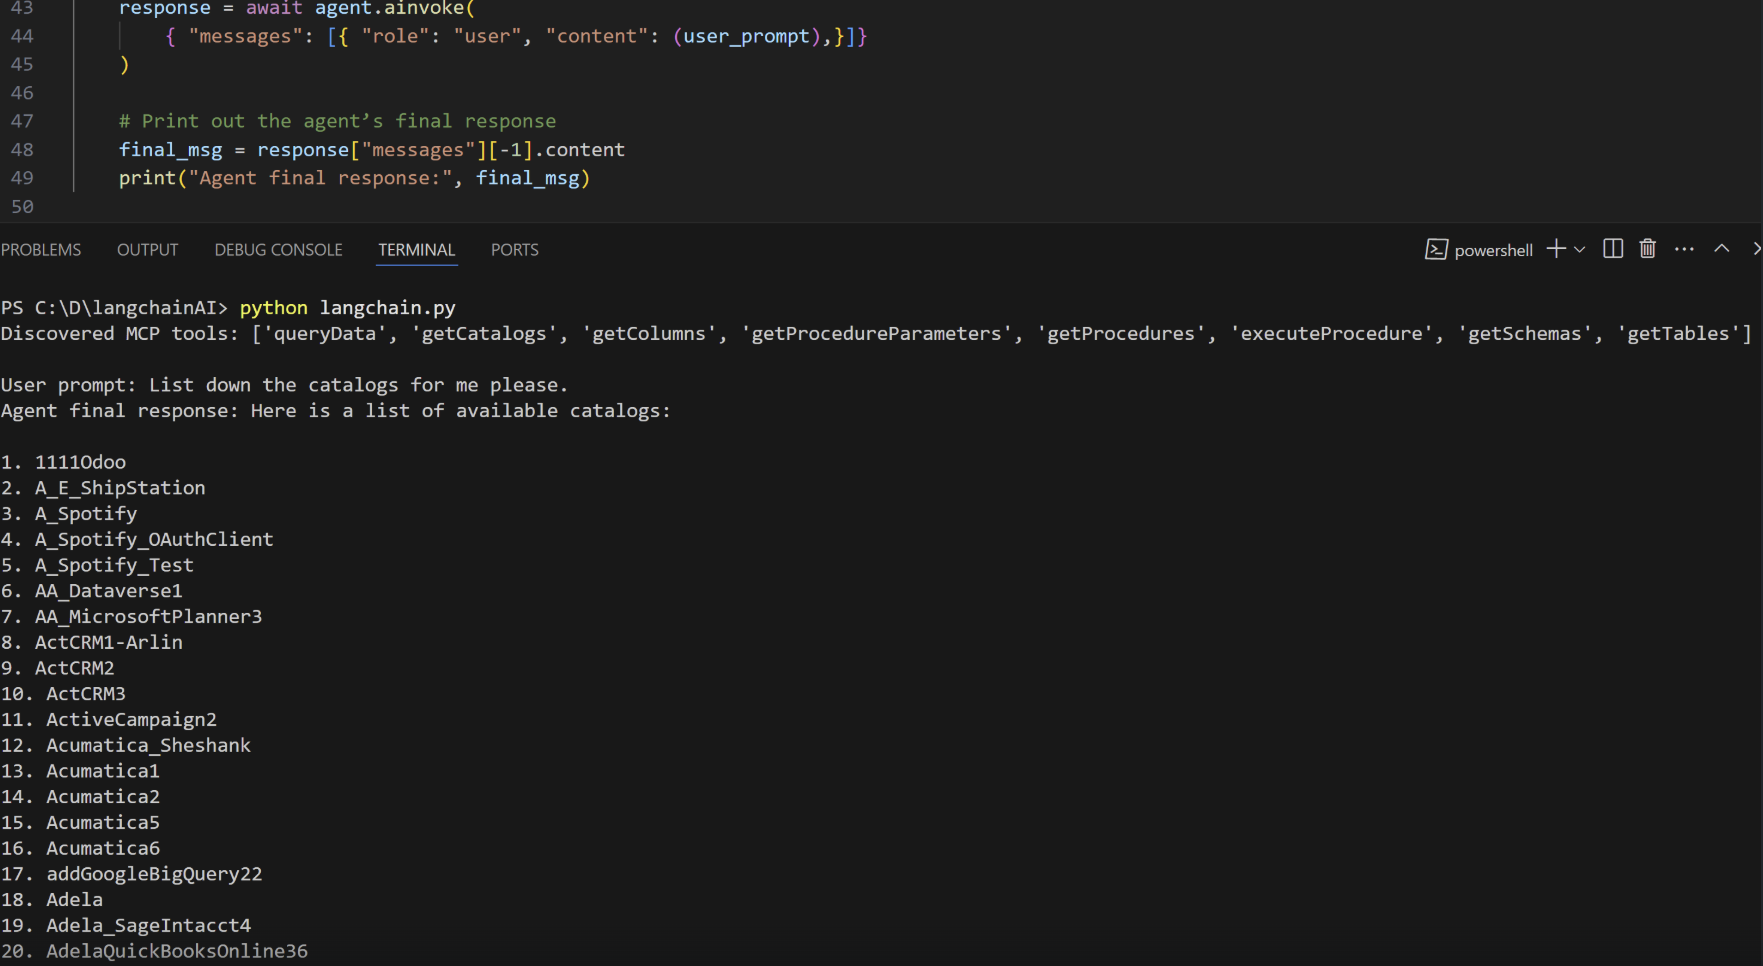
When the installation finishes, run `python langchain.py` to execute the script.
The script discovers the Connect AI MCP tools needed for the LLM to query the connected data.
Supply a prompt for the agent. The agent provides a response.